An old post from my lost blog.
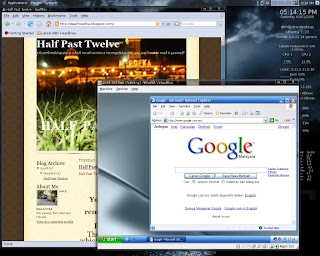
Finally...it's working
Finally...I'm able to use network bridge option for my vm under VirtualBox
(after a lot of trial and error). Actually there's a bug in VirtualBox that will caused FireStarter
(an interface for iptable) to stop working if I use bridging.
http://www.virtualbox.org/ticket/970
Fortunately, there's still a workaround even though it will be easy if I just remove FireStarter, but I really need it because without it, undoubtedly it's difficult for me to configure the firewall on my machine
(I'm still at beginner level).
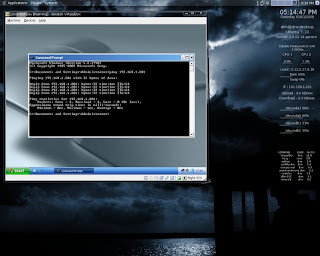
Guest ping Host OS
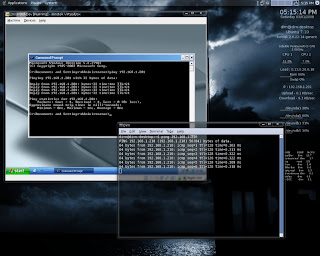
Host ping Guest OS
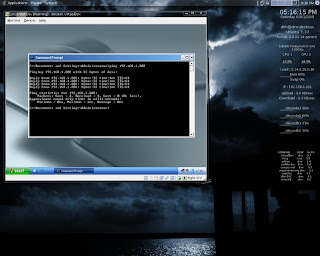
Guest ping another physical machine within the network
Steps need to be done on Host OS
1) Install the utilities
$ sudo apt-get install bridge-utils uml-utilities
2) Add your username as part of uml-net group
$ sudo gpasswd -a [your user name] uml-net
3) Open network interface
$ sudo gedit /etc/network/interfaces
4) Add the text below at the end of the line
auto tap0
    iface tap0 inet manual
    up ifconfig $IFACE 0.0.0.0 up
    down ifconfig $IFACE down
    tunctl_user [your user name]

    auto br0
    iface inet dhcp
    bridge_ports eth0 tap0
5) Restart network service
$ sudo /etc/init.d/networking restart
Note:
you can also use static ip instead of dhcp.
Virtual Machine Settings
Steps need to be done on virtual machine
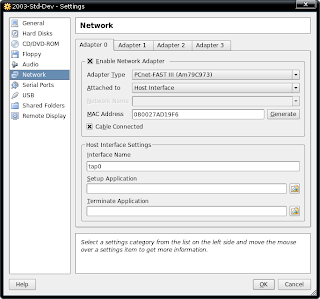
1) Under Details tab go to Network option
2) Under Adapter 0 tab, enabled the network adapter and set the value
Attached to = Host Interface
3) Under Host Interface Settings set value
Interface Name = tap0
This should work fine if you're not using FireStarter. Otherwise below is an extra steps that need to be done. Before you proceed, let's do some checking.
1) Go to terminal and type
$ sudo iptables -nL
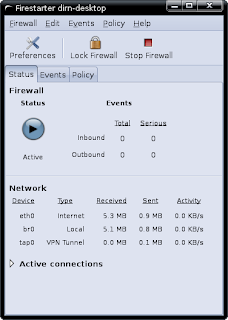
2) If the output is something as shown below. Then only we fix FireStarter.
Chain INPUT (policy ACCEPT)
    target prot opt source destination

    Chain FORWARD (policy ACCEPT)
    target prot opt source destination

    Chain OUTPUT (policy ACCEPT)
    target prot opt source destination
FireStarter
Steps need to be done to fix FireStarter
1) Edit FireStarter script
$ sudo gedit /etc/firestarter/firestarter.sh
2) Search for the text as shown below
if [ "$MASK" = "" -a "$1" != "stop" ]; then
        echo "External network device $IF is not ready. Aborting.."
        exit 2
    fi
3) Replace the text with the text below
#if [ "$MASK" = "" -a "$1" != "stop" ]; then
        # echo "External network device $IF is not ready. Aborting.."
        # exit 2
    #fi
4) Reboot your machine
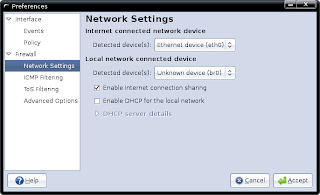
5) Once your machine restarted, open FireStarter and go to Preferences
6) Under Firewall->Network Settings set your
Internet connected network device = eth0
Local network connected device = br0
7) Checked Enabled internet connection sharing
8) Click Accept button
FireStarter Settings


